Roofing Claim Management: From Damage to Final Payment
By Editorial Team, Content Writer · October 24, 2026 · 14 min read
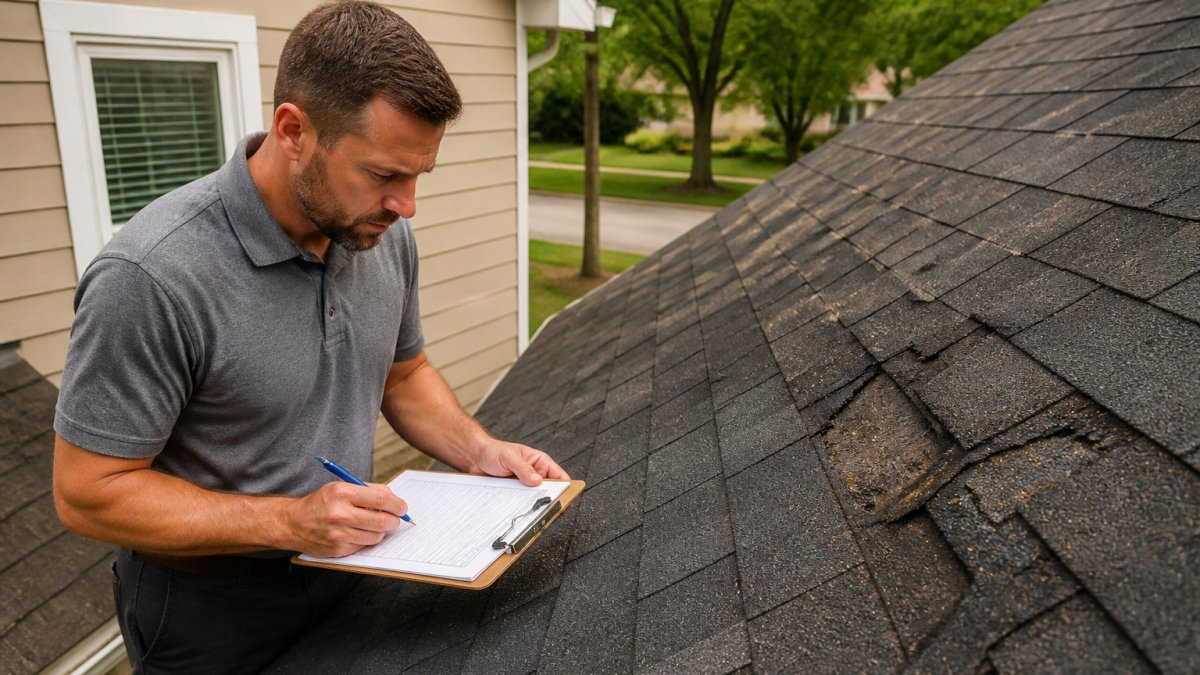
Last Updated: October 25, 2026
Quick Summary
Roofing claim management is the process of documenting, filing, and tracking an insurance claim for roof damage from start to finish, including everything from initial damage assessment through final payment. The process protects your recovery and ensures you capture every legitimate repair cost.
- Document damage immediately with dated photos, measurements, and detailed notes before filing your claim.
- Simple roofing claims settle in 30-60 days, while complex ones with supplements and appeals can take 4-6 months.
- Submit supplements for missing or undervalued items in the adjuster's estimate, backed by photos, building codes, and manufacturer specifications.
- Common missed items include roof decking replacement, flashing repairs, gutter damage, permits, and contractor overhead and profit.
- Request an independent appraisal or file a complaint with your state insurance commissioner if the adjuster denies your supplement.
Table of Contents
- Understanding the Roofing Claim Management Process
- Assessing and Documenting Roof Damage Safely
- Building Your Roofing Claim Documentation Checklist
- Filing Your Roof Insurance Claim and Working with Adjusters
- Drafting a Roofing Insurance Supplement Letter Template
- Using Roofing Claims Management Software to Maximize Recovery
- Handling Denials, Underpayments, and Appeals
- Starting Your First Claim with Confidence
- Frequently Asked Questions
Understanding the Roofing Claim Management Process
Roofing claim management is the process of documenting, filing, and tracking an insurance claim for roof damage from start to finish.
Most contractors approach claims reactively. They wait for the adjuster's report, then scramble to identify what was missed. This costs time and money.
The roofing claim management process has several critical steps:
- Assess the damage safely and document it with photos and notes
- Review your insurance policy for coverage limits, deductibles, and exclusions
- File the claim with your insurance company promptly
- Meet with the adjuster and provide your documentation
- Review the adjuster's estimate for missed line items
- Submit supplements if items are missing or undervalued
- Track the claim status until final payment arrives
Each step builds on the previous one. Skip documentation early, and you'll struggle to justify supplements later.
The timeline varies. Simple claims settle in 30-60 days. Complex ones with supplements and appeals can take 4-6 months.
The roofing claim management process follows several critical steps from initial damage assessment through final payment.
| Step | What to Do | Typical Timeline |
|---|---|---|
| Assess damage | Document with photos and notes safely | Immediately after damage |
| Review policy | Check coverage limits, deductibles, exclusions | Before filing |
| File claim | Submit to insurance company promptly | As soon as safely possible |
| Meet adjuster | Provide documentation and point out damage | Within days of filing |
| Review estimate | Compare adjuster's estimate to your documentation | Upon receipt |
| Submit supplements | Request payment for missed or undervalued items | As needed |
| Track status | Monitor claim progress until final payment | Throughout process |
| Resolution | Simple claims settle; complex ones with appeals | 30-60 days to 4-6 months |
Assessing and Documenting Roof Damage Safely
Safe assessment starts with the right precautions. Never climb a roof without proper fall protection. Wet roofs, steep pitches, and damaged sections create slip hazards.
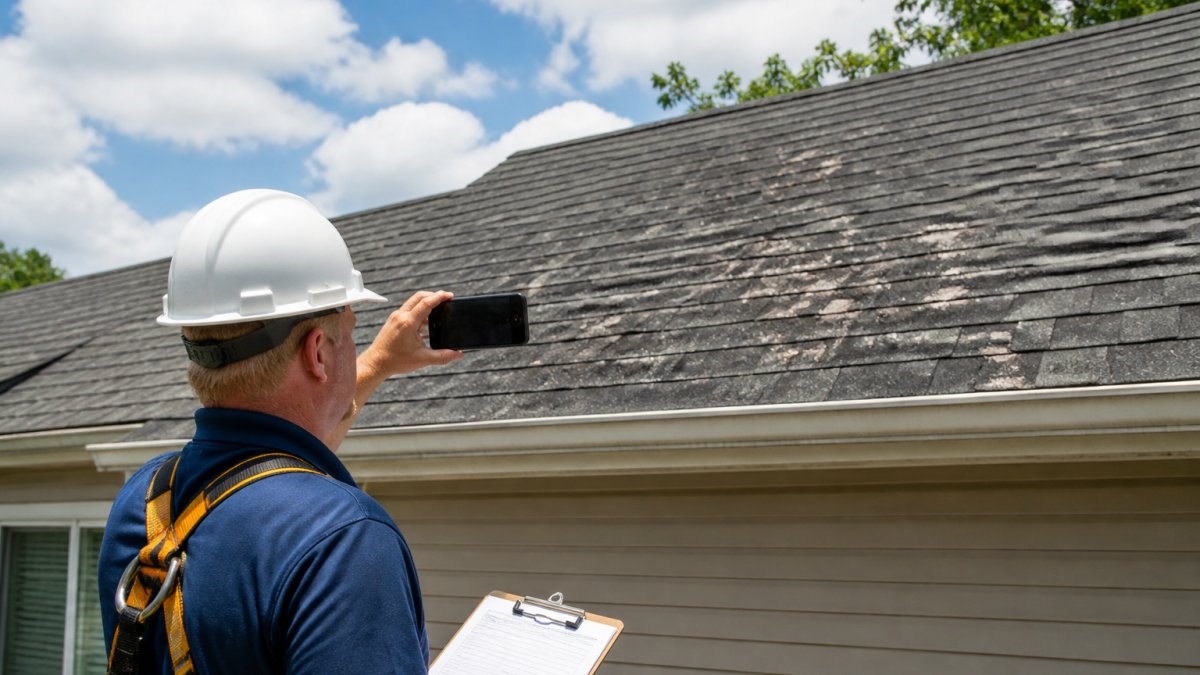
When you do assess damage, document everything systematically:
- Take overhead photos of the entire roof from the ground using a drone if available
- Photograph close-ups of each damaged area from multiple angles
- Include a scale reference (ruler, coin, or tape measure) in close-up shots
- Note the date and time on each photo
- Record measurements of damaged sections and dimensions of the roof
- Write detailed notes describing damage type, location, and extent
- Document weather conditions at the time of damage (hail, wind, storm date)
- Photograph the entire property to show context and surrounding damage
Your photos are evidence. Adjusters will compare them to the adjuster's inspection. Clear, dated photos with scale references are far harder to dispute than vague images.
Make a checklist for your assessment:
- Hail impact size and frequency across roof sections
- Missing or damaged shingles
- Dents in gutters, downspouts, and flashing
- Damage to skylights, vents, or chimney flashing
- Signs of water intrusion or staining on interior ceilings
- Damage to siding, windows, or other exterior elements
Document damage as soon as safely possible after the event. Fresh damage is easier to photograph clearly. Weathering and secondary damage complicate the picture later.
Building Your Roofing Claim Documentation Checklist
Documentation is the foundation of a successful roofing claim management strategy. Adjusters work from what they can see and verify. Weak documentation leads to low estimates. Strong documentation supports your case.
Your documentation package should include:
Policy and Coverage Documents
- Copy of your homeowners insurance policy
- Declarations page showing coverage limits
- Any endorsements or amendments to the policy
- Proof of premium payments (if requested)
Damage Documentation
- Dated photos from multiple angles
- Drone footage or aerial imagery
- Measurement records and dimensions
- Written descriptions of all damage
- Weather reports from the date of loss
- Contractor inspection reports
Repair Estimates
- Detailed roofing repair estimate with line items
- Manufacturer installation requirements for replacement materials
- Local building code requirements for your jurisdiction
- Permits required for the repair work
- Material specifications and product data sheets
Property Records
- Proof of roof age (installation date)
- Previous repair or maintenance records
- Property tax records showing roof condition before loss
- Appraisals or home value documentation
Organize these into a single folder or digital file. Label everything clearly with dates. When you meet the adjuster, you'll reference this material.
FEMA guidance on documenting property damage for insurance claims recommends keeping organized records and taking timestamped photos. This same principle applies to roof damage claims.
How to Find Missing Roofing Estimate Items(page:2) walks you through identifying gaps in the adjuster's initial estimate before you file a supplement.
Filing Your Roof Insurance Claim and Working with Adjusters
File your claim as soon as safely possible after damage occurs. Most policies require prompt notice.
When you file, provide:
- Date and time of damage
- Description of what caused the damage (storm, hail, wind, etc.)
- Location of damage on the property
- Initial estimate of damage extent
- Contact information for your contractor or inspector
Your insurance company will assign an adjuster. The adjuster inspects the property, reviews your documentation, and prepares an estimate.
Meeting with the adjuster matters. Be present during the inspection. Show your documentation. Point out damage areas. Answer questions directly.
After the inspection, you'll receive the adjuster's estimate. Review it carefully against your own documentation. Compare line items, quantities, and pricing.
Common items adjusters miss include:
- Roof decking replacement (when sheathing is damaged)
- Flashing repairs at valleys, ridges, and penetrations
- Gutter and downspout replacement
- Soffit and fascia damage
- Interior water damage repairs
- Permits and inspections
- Contractor overhead and profit (O&P)
- Haul-off and debris removal
The adjuster's estimate is a starting point, not the final word. If items are missing or undervalued, you'll submit a supplement.
Drafting a Roofing Insurance Supplement Letter Template
A roofing insurance supplement letter requests additional payment for items missing or undervalued in the adjuster's estimate. It's not an appeal or a complaint. It's a formal request backed by documentation.
How to Write a Roofing Supplement the Adjuster Will Approve(page:3) provides a detailed step-by-step guide to writing supplements adjusters will actually review and approve.
Your supplement should include:
Header Section
- Your name and property address
- Claim number
- Date of the letter
- Adjuster name and insurance company
Opening Statement
- Reference the original estimate date
- State that you've identified additional items for consideration
- Remain professional and factual
Line-Item Breakdown For each missing or undervalued item:
- Describe the item clearly
- State the quantity and measurement
- Cite the reason it should be included (code requirement, manufacturer spec, damage extent)
- Provide supporting documentation (photos, estimates, code citations)
- Show the calculation: quantity × unit cost = total cost
Supporting Documentation Section
- Reference attached photos with specific item numbers
- Cite applicable building codes by jurisdiction
- Include manufacturer installation requirements
- Attach contractor estimates for comparison
- Provide any other relevant evidence
Closing Statement
- Request approval and payment
- Offer to meet with the adjuster to discuss
- Provide your contact information
Format matters. Use clear headings, numbered lists, and consistent formatting. Make it easy for the adjuster to follow your logic. Each line item should stand on its own.
Use specific numbers and sources. "The roof decking is damaged and needs replacement" is vague.
Using Roofing Claims Management Software to Maximize Recovery
Roofing claims management software automates the comparison between adjuster estimates and your actual scope of work.
ScopeProof is purpose-built for this workflow.
Here's how it works in practice:
- Upload the adjuster estimate and your measurement data
- The software cross-references against manufacturer specs and local codes
- Missing items are flagged with the reason they should be included
- Calculations are automated with O&P, permits, and haul-off
- Supplements are drafted with citations and supporting math
- You review and edit before sending to the adjuster
The time savings are real. Manual comparison takes hours per claim. Automated analysis takes minutes.
ScopeProof also generates material orders based on job-specific measurements. This prevents ordering errors and ensures accurate material costs in your estimate.
The platform is built by a roofer for the roofing industry. It understands your workflow and your language.
Try your first claim free to see how it handles your typical scope of work.
Handling Denials, Underpayments, and Appeals
Not every supplement gets approved on the first submission. Some items are denied. Others are partially approved. When this happens, you have options.
First, understand why the item was denied. The adjuster's response should explain the reasoning. Common denial reasons include:
- Item is considered maintenance, not storm damage
- Damage is below the deductible threshold
- Item is excluded under policy language
- Damage is pre-existing or wear-and-tear
- Insufficient documentation provided
- Item exceeds policy limits or coverage
If you disagree with the denial, respond in writing. Address each point the adjuster raised. Provide additional documentation if available.
Request a reinspection if new evidence has emerged. Sometimes a second inspection reveals damage the adjuster missed.
If the adjuster still denies the item, you have further options:
- Request an independent appraisal (often covered under policy language)
- File a complaint with your state's insurance commissioner
- Consult an attorney if the amount in dispute justifies legal action
- Work with a public adjuster (they take a percentage of recovered funds)
Appeals take time and effort. Evaluate the cost of pursuing an appeal against the amount in dispute.
Keep detailed records of all communications with the adjuster. Document dates, names, and what was discussed. This record supports an appeal or complaint.
Starting Your First Claim with Confidence
Start by gathering all necessary documentation before you file. Don't rush.
Understand your policy before damage happens. Know your coverage limits, deductibles, and exclusions.
Take thorough photos and measurements immediately after damage. This documentation is your evidence.
File your claim promptly. Most policies require notice within a specific timeframe. Don't delay.
When the adjuster arrives, be present. Provide your documentation. Answer questions directly.
Review the adjuster's estimate carefully. Compare it to your own documentation. Note discrepancies.
If items are missing or undervalued, submit a well-documented supplement.
Track your claim status throughout the process.
Frequently Asked Questions
What is the typical roofing insurance claim process?
The roofing insurance claim process starts with damage assessment and documentation, followed by filing a claim with your insurance company. An insurance adjuster inspects the damage and issues an estimate. If the estimate misses line items or doesn't meet building code requirements, contractors can submit a supplement. Once approved, payment is released for repairs or replacement. The entire process typically takes 30-90 days depending on damage severity and claim complexity.
What documents should I include in a roofing claim documentation checklist?
Essential roofing claim documentation includes photos and videos of all damage, a detailed damage assessment report, the original insurance policy, proof of loss form, repair or replacement estimates from licensed contractors, measurement reports of affected roof areas, and any evidence of weather events (storm reports, hail records). For supplements, include the adjuster's estimate, your detailed scope of work, building code citations, manufacturer installation requirements, and line-by-line cost breakdowns showing missed items.
How do I respond to an insurance adjuster's estimate with a supplement?
Review the adjuster's estimate against your measurement data, building code requirements, and manufacturer specifications. Document every missed line item with supporting evidence. A roofing insurance supplement letter should reference the original claim number, list each missed item with cost justification, cite applicable building codes by jurisdiction, and include photos or inspection reports supporting your claim. Submit the supplement within your policy's deadline, typically 30-90 days after the initial estimate.
What should I do if my roofing insurance claim is denied or underpaid?
First, request a detailed written explanation from the insurance company. Review your policy for coverage exclusions and verify the denial reason. If the denial appears incorrect, file an appeal with supporting documentation, including contractor estimates, damage photos, and building code requirements. Consider hiring a public adjuster or attorney if the claim amount is substantial. Document all communication and maintain copies of every submission. Many denials can be overturned with proper evidence and professional advocacy.
Roofing claim management is manageable when you follow a structured process. Document damage thoroughly. Understand your policy. File promptly. Work professionally with adjusters. Submit detailed supplements when needed. Track the claim to completion. This approach protects your recovery and reduces stress. At ScopeProof, we help contractors streamline this process with automated documentation and supplement drafting. Get started with ScopeProof and recover more on every claim.

- roofing claim management
- roofing insurance claim process
- roofing claim documentation checklist
- roofing insurance supplement letter template
- roofing claims management software